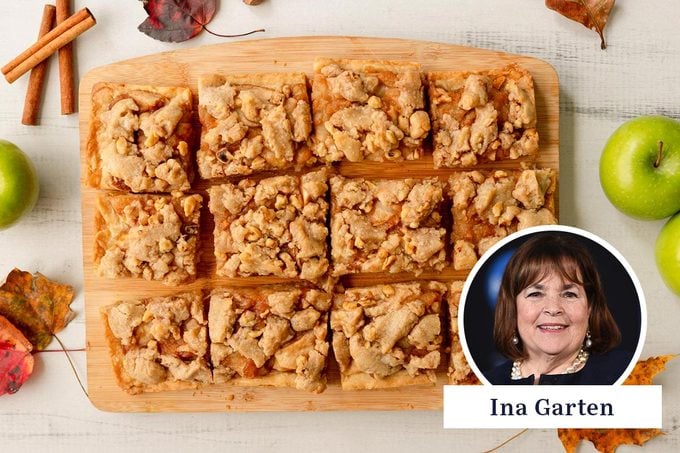
Craving luscious apple pie flavor but don’t want the hassle of actually baking a pie? The Barefoot Contessa has you covered with her apple pie bars.
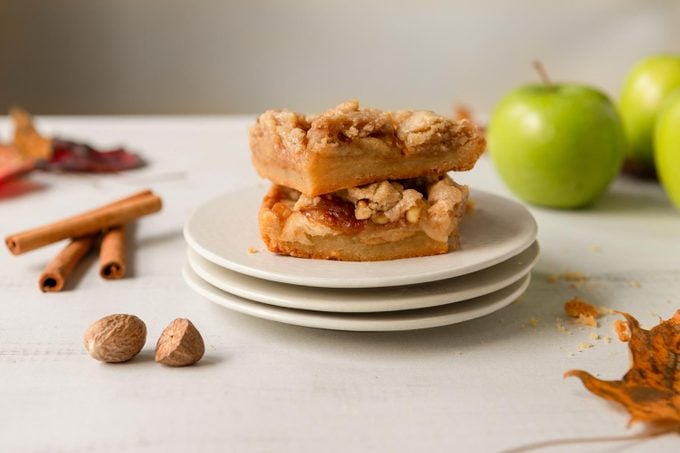
This 13×9 dessert has a tender, sweetened bottom crust—but no rolling pin is necessary. Ina simply presses the dough into the pan, then throws it into the oven to bake. The crust is topped with lots of juicy apples cooked with butter and cinnamon. Walnuts in the top layer give the bars a little extra crunch.
It’s so Ina to create a treat like this that perfectly captures the best flavors of the season! Like most of her favorite recipes, the bars are simple, flavorful and elegant. This dessert is versatile enough to be a casual weeknight dessert or the perfect finish for a friend’s dinner party.
How to Make Ina Garten’s Apple Pie Bars
Ina’s recipe makes 12 thick bars. With the prep, baking and cooling steps, the bars take a little over two hours from start to finish. However, we recommend allowing extra time for baking to be sure the crusts are properly browned.
Ingredients
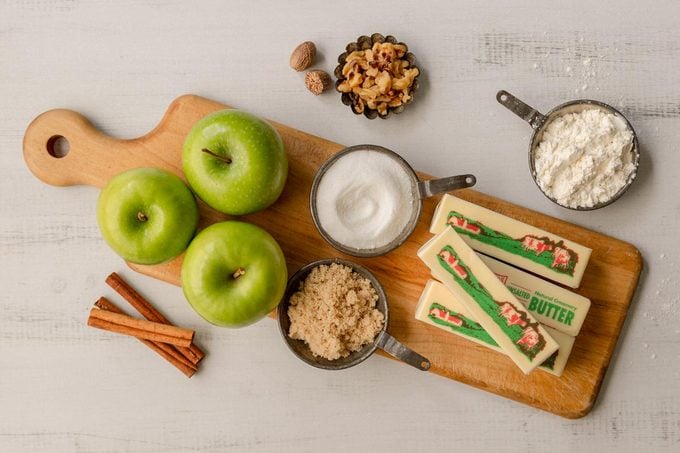
Crust:
1 pound (4 sticks) unsalted butter, softened (This brand is Ina’s favorite butter for baking!)
3/4 cup granulated sugar
1/2 cup light brown sugar, lightly packed
2 teaspoons pure vanilla extract
4 cups all-purpose flour
1-1/2 teaspoons kosher salt
1/2 cup chopped walnuts
1 teaspoon ground cinnamon
Filling:
1-1/2 pounds Granny Smith apples: peeled, quartered, cored and sliced into 1/8-inch thick slices
1-1/2 pounds Golden Delicious apples: peeled, quartered, cored and sliced into 1/8-inch thick slices
2 tablespoons freshly squeezed lemon juice
1/4 cup granulated sugar
1 teaspoon ground cinnamon
1/8 teaspoon ground nutmeg
4 tablespoons unsalted butter
Directions
Step 1: Make the dough
Preheat the oven to 375°F. Line the bottom and sides of a 13×9-inch baking pan with parchment paper. (Our Instagram Reel shows you how to perfectly cut that parchment.)
Place the softened butter, granulated sugar, brown sugar and vanilla into the bowl of a stand mixer with a paddle attachment. (Or, for a hand mixer, use a large bowl.) Blend the ingredients on medium speed for two minutes until the mixture is light and creamy.
Sift the flour and salt together in a separate bowl; run the mixer on medium-low speed as you slowly add in the dry ingredients. Scrape the bowl once or twice and mix until everything is just combined.
Step 2: Bake the bottom crust
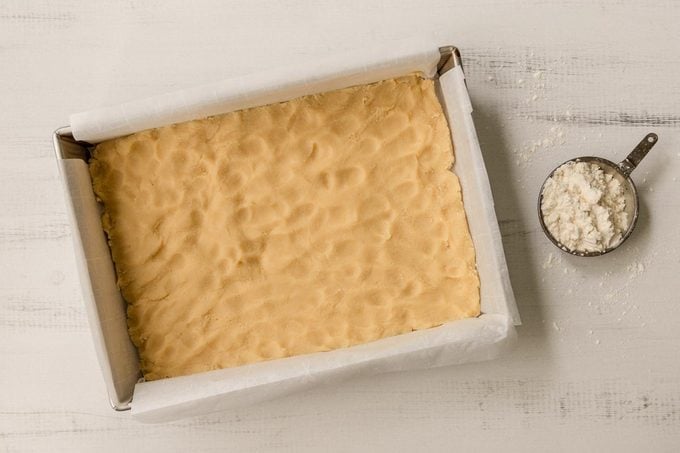
Set aside one-third of the dough. Drop the rest of the dough in clumps over the bottom of the prepared pan. Press the dough down with your fingers to make an even layer across the bottom of the pan and a half-inch up the sides. Refrigerate the dough in the pan for 20 minutes. Then, bake for 18-20 minutes or until the crust is golden brown. Move it to a rack to cool.
Editor’s Tip: The dough will be sticky; flour your hands to make it easier to press the dough. Or, if you’ve been saving butter wrappers like we told you to, now’s the time to use them! The buttered side is the perfect tool to easily press out the dough.
Step 3: Create the topping
Lower the oven temperature to 350°. Place the dough that you set aside into a mixing bowl; add in the chopped walnuts and teaspoon of cinnamon. Pulse the mixer until everything is combined. Hold this topping aside.
Step 4: Make the apple filling
Add all of the sliced apples and lemon juice to a very large bowl, and stir them together to coat the apples in the juice. Add in the 1/4 cup of granulated sugar, a teaspoon of cinnamon and ground nutmeg, and mix everything together. (We chose to double the cinnamon and add an extra dash of nutmeg, to make the apples even more delectable!)
Melt the four tablespoons of butter in a large pot over medium heat. Add in the apple mixture, and bring it to a simmer. Cook the mixture, stirring often, for 12-15 minutes until most of the liquid has evaporated, and the apples are very soft.
Step 5: Assemble
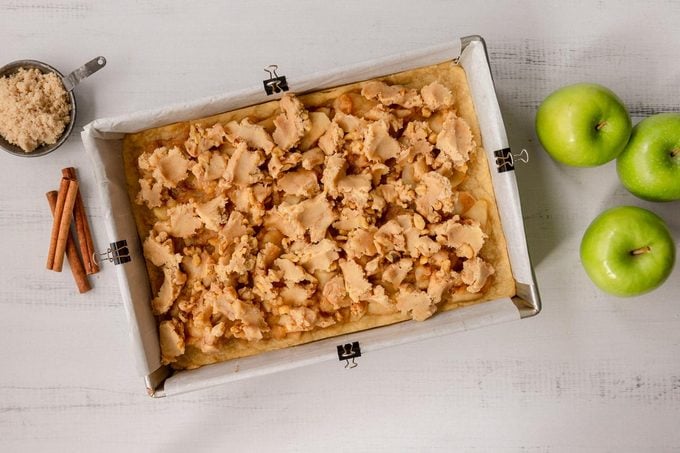
Spoon the apple filling over the baked crust, making an even layer and leaving a 1/2-inch border all around. Take the dough topping and drop pinches of it all over the top of the apples; the top won’t be completely covered, but just distribute the dough clumps evenly.
Step 6: Bake
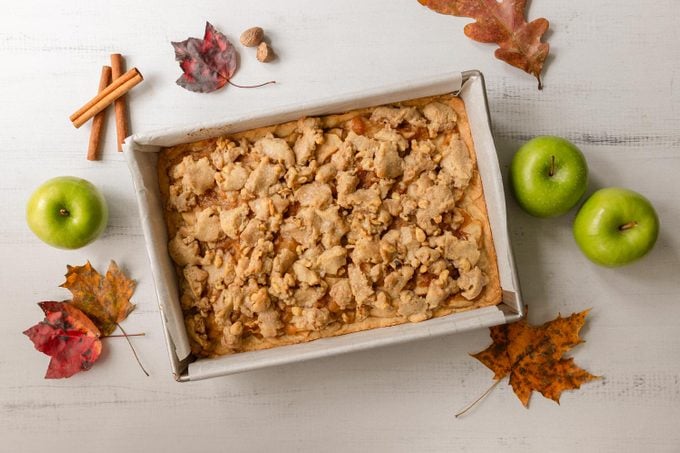
Slide the pan into the oven and bake it for 25-30 minutes, or until the topping is browned. Move the pan to a cooling rack and allow it to cool completely. Once that’s done, use the edges of the parchment paper to lift the whole thing out and onto a cutting board. Pull the parchment out from underneath. Slice the bake into 12 bars and serve.
Editor’s Tip: The baking times above are Ina’s recommendations, however, we found it took anywhere from five to 15 minutes longer to get a golden-brown top and bottom crusts. To be safe, allow a little extra time just in case the bars need longer in your oven, too.
How to Store Apple Pie Bars
To keep them fresh, cover the bars with plastic wrap or in storage containers and store them in the fridge for up to five days. You can enjoy them cold or warm them up on a baking sheet in a low oven—the bars are delicious either way.
Tips for Making Apple Pie Bars Like Ina Garten
What apples are best for this recipe?
Ina likes a mixture of lightly sweet Golden Delicious and tart Granny Smith apples. They balance each other nicely and the tartness is very tasty inside the sweetened crust. These apples also hold their shape after baking so that the filling isn’t too mushy. Feel free to experiment with other sweet and tart favorite baking apples, such as Honeycrisp, Cortland, Gala, Northern Spy, Pink Lady and Fuji.
Can I substitute other nuts?
Absolutely! Chopped pecans, almonds, hazelnuts and macadamia nuts are all great choices to pair with this apple dessert. To coax the best flavor from any variety, lightly toast the nuts in a skillet for a minute or two, until they’re fragrant and just starting to brown.
How do I get the parchment paper to stay in place?
Ina’s favorite trick to keep the long parchment paper sides from sliding or falling into the pan is to use small binder clips. (Make sure the clips are metal.) Simply clip them over the parchment onto the edges of the baking pan. (Binder clips are one of our Taste of Home pros’ favorite kitchen gadgets.)
>>> Read full article>>>
Copyright for syndicated content belongs to the linked Source : TasteOfHome – https://www.tasteofhome.com/article/ina-garten-apple-pie-bars/


