Image: Foundry
The Camera app on an iPhone or iPad makes it a snap (sorry for the pun) to take pictures in either portrait or landscape orientation. But what do you do when the rotation is incorrect, either when making the shot or reviewing it later?
Check for the rotation in the interface
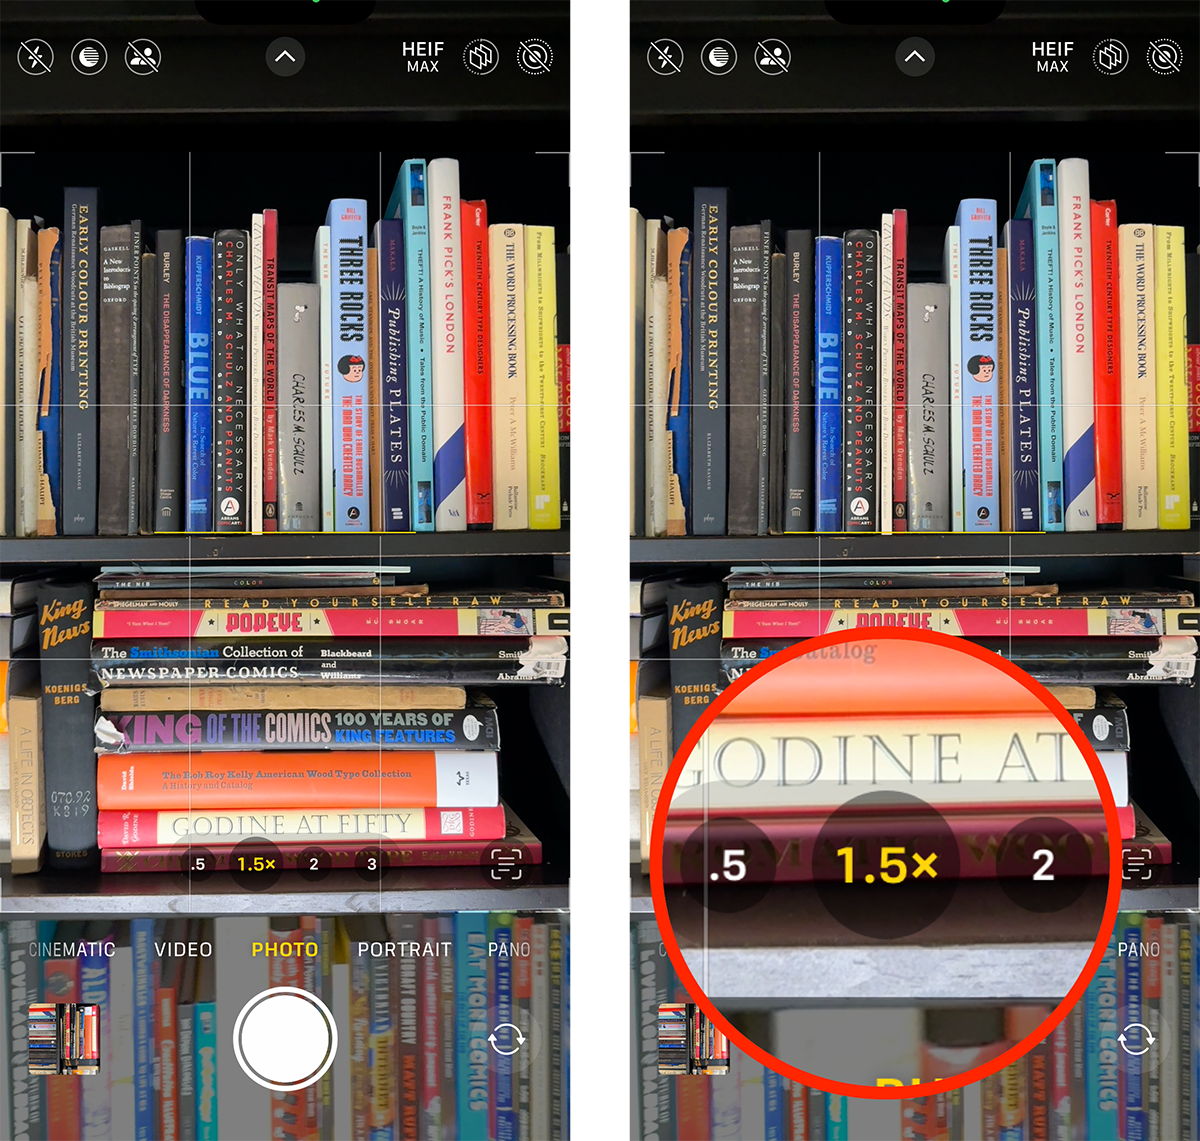
Camera uses subtle signals to let you know that your photo will be captured in landscape or portrait. Certain text and icons rotate to the position that Camera registers the photo will be captured as.
In the figure, you can see that if your iPhone or iPad is in portrait orientation, the symbols at the top and the text for magnification appear in that orientation (note the magnification factors enlarged and highlighted in the red circle at right).

In portrait orientation, the camera lens/zoom buttons are oriented to read in that view.
Foundry
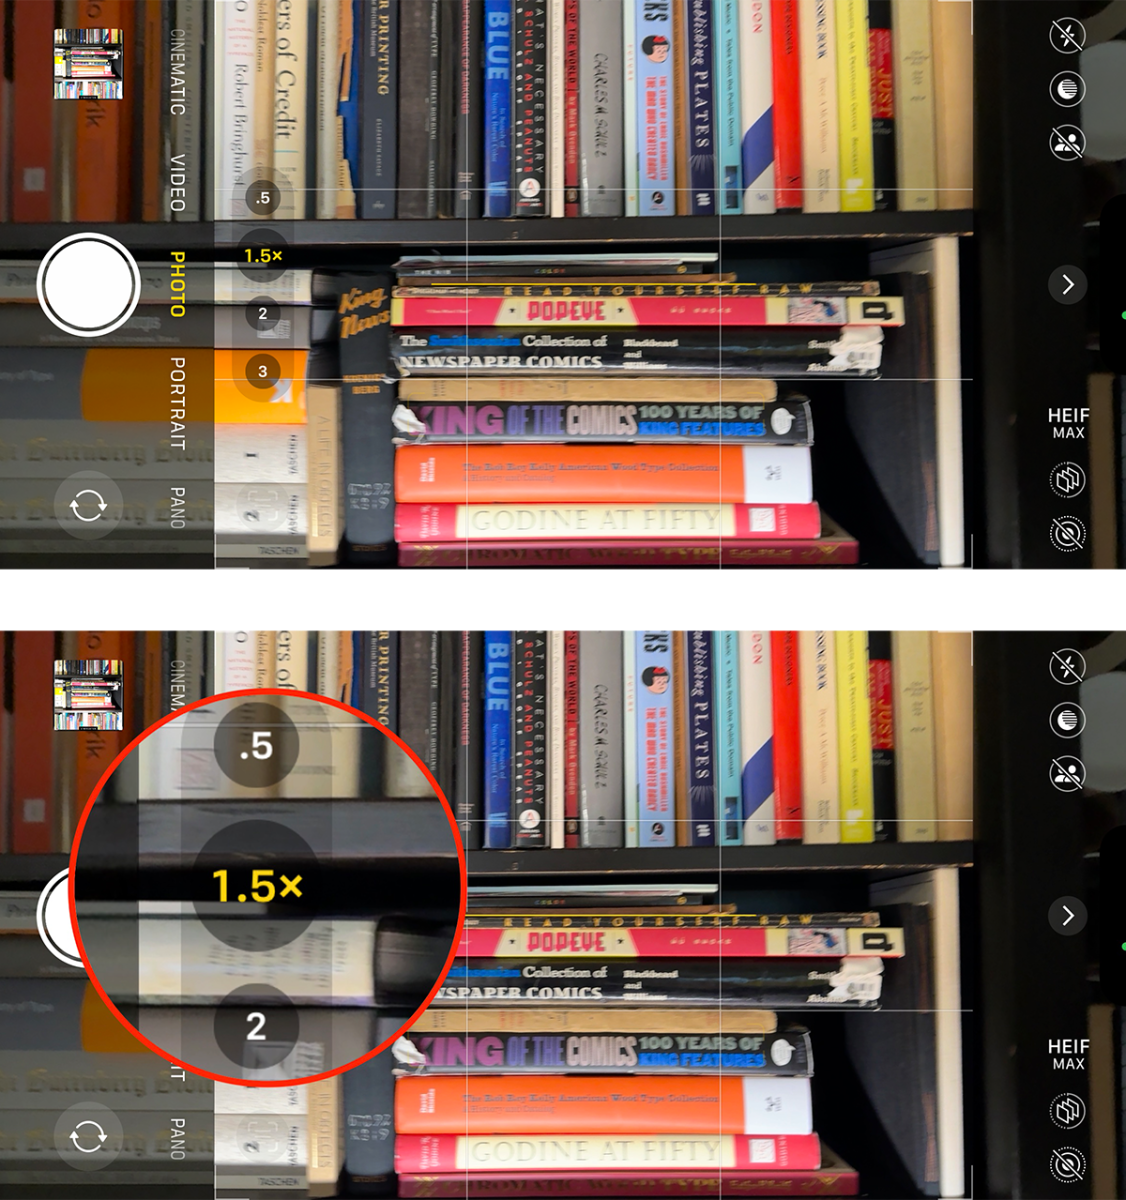
Now in landscape orientation, note that the labels for the kind of capture (cinematic, video, photo, etc.) do not rotate, but all the camera icons do: 0.5, 1.5x, and 2, and the icons and text at the top. The most notable way to track this is the magnification factor, called out in a red circle at the bottom of the pair of figures.

Rotate to landscape, and the lens selection/zoom buttons change to landscape reading.
Foundry
Because Camera’s rotation relies on a micro-sensor in your device, sometimes it doesn’t register as quickly as you rotate or misses the rotation if you turn slowly. If you can’t get the Camera icons to rotate, reverse your orientation (portrait to landscape or vice versa) and reverse it back to what you want.
If that fails…
Check for orientation lock
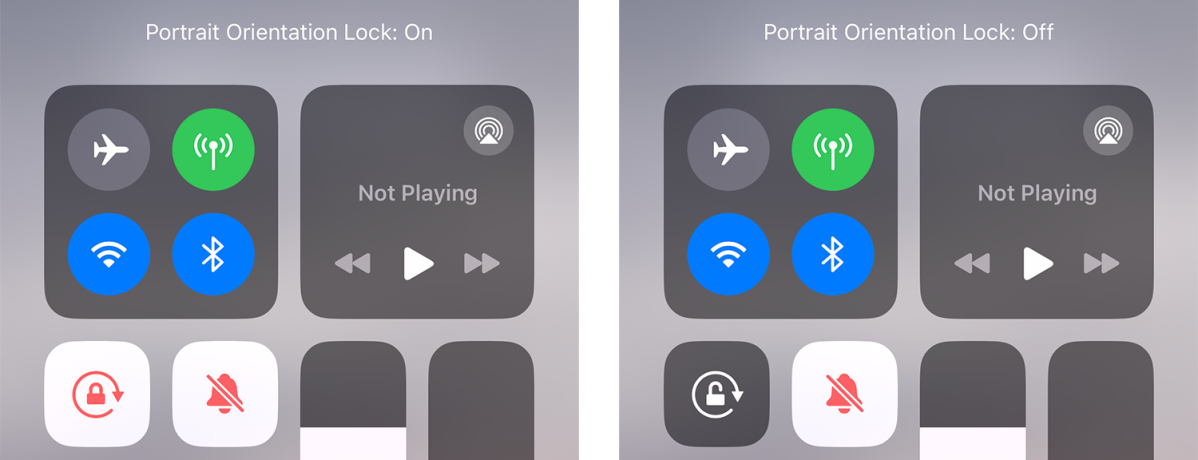
Swipe to reveal the Control Center. Is the lock icon within a circular arrow white on a black background or is orange on an off-white background? If it’s orange, Portrait Orientation Lock (iPhone) or Rotation Lock (iPad) is engaged. This prevents interface elements and the reading view from rotating from portrait to landscape on an iPhone or from whatever your current orientation is to the other on an iPad. Tap it to turn it off. Text appears at the top when you tap the control, confirming your action.

The rotation/orientation lock appears orange on off-white when active and white on black when not.
Foundry
You should now be able to rotate your camera to the preferred orientation.
Rotate after the fact
Photos lets you rotate images after you capture them.
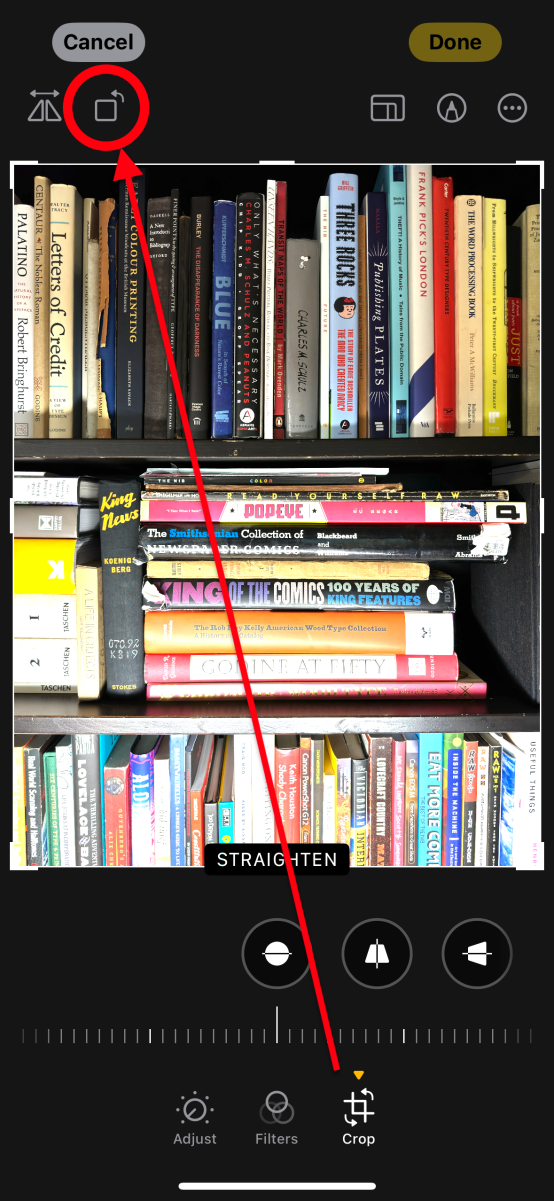
In Photos for iOS/iPadOS, select an image or video, tap Edit, tap Crop, and tap the Rotate Left icon. Since there’s no way to make that rotate right, remember three lefts made a right: tap, tap, tap.

Use the Crop tool to rotate an image if it was captured in the wrong orientation.
Foundry
In Photos for macOS, select one or more pieces of media and tap the Rotate Left icon at the top-right corner of the window in the toolbar. You can turn that icon into Rotate Right by holding down the Option key.
This Mac 911 article is in response to a question submitted by Macworld reader Charlie.
Ask Mac 911
We’ve compiled a list of the questions we get asked most frequently, along with answers and links to columns: read our super FAQ to see if your question is covered. If not, we’re always looking for new problems to solve! Email yours to [email protected], including screen captures as appropriate and whether you want your full name used. Not every question will be answered, we don’t reply to email, and we cannot provide direct troubleshooting advice.
>>> Read full article>>>
Copyright for syndicated content belongs to the linked Source : MacWorld – https://www.macworld.com/article/2142093/how-to-make-iphone-photos-correct-orientation.html


