
VMware Workstation Pro, which used to cost around $250, is now available free of charge. The program outperforms Virtualbox in terms of features, setting options, hardware support, saving and managing snapshots, copying and cloning virtual machines, and network configuration.
The snapshot manager is first class. It can freeze intermediate states of a virtual computer, interleave them, and later return to the desired status. In conjunction with the powerful cloning of machines and the extended option of saving storage space with linked copies (a type of incremental backup), various application scenarios can be created from a single system at the touch of a button. This is helpful for extensive experimentation with software, for example.
Step 1: Install VMware Workstation Pro 17.5.2
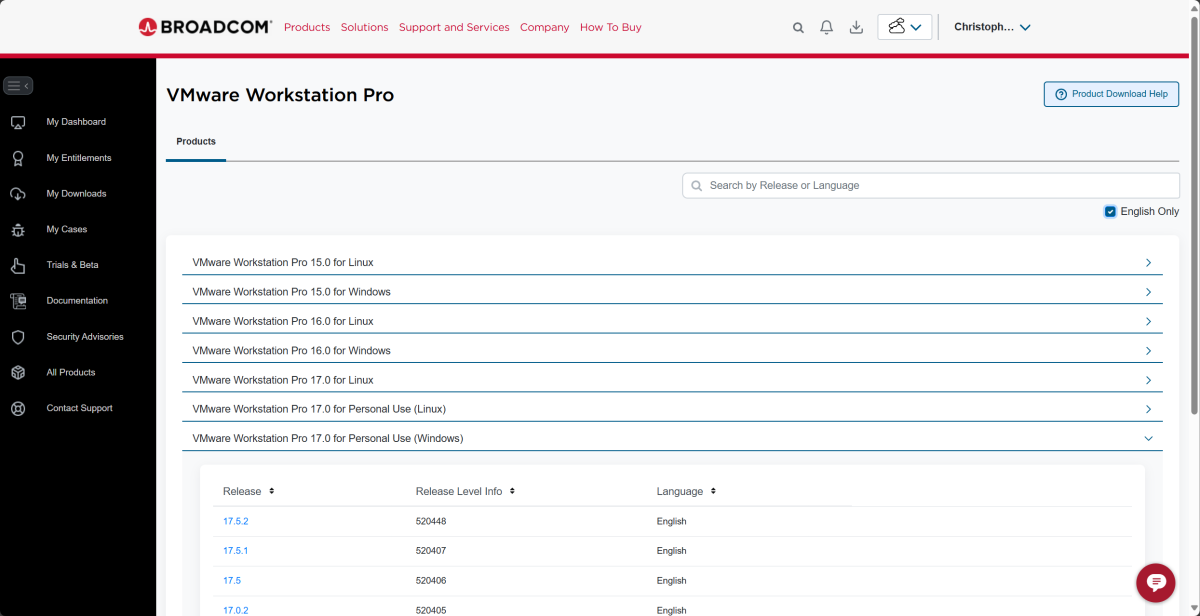
Following the acquisition of VMware by Broadcom in May 2022, the virtualization software VMware Workstation Pro was initially offered for a fee. For a few weeks now, the program has been free for private users (“Free Personal Use”) and can be downloaded from Broadcom after prior registration (just under 680MB).

Christoph Hoffmann
Christoph Hoffmann
Christoph Hoffmann
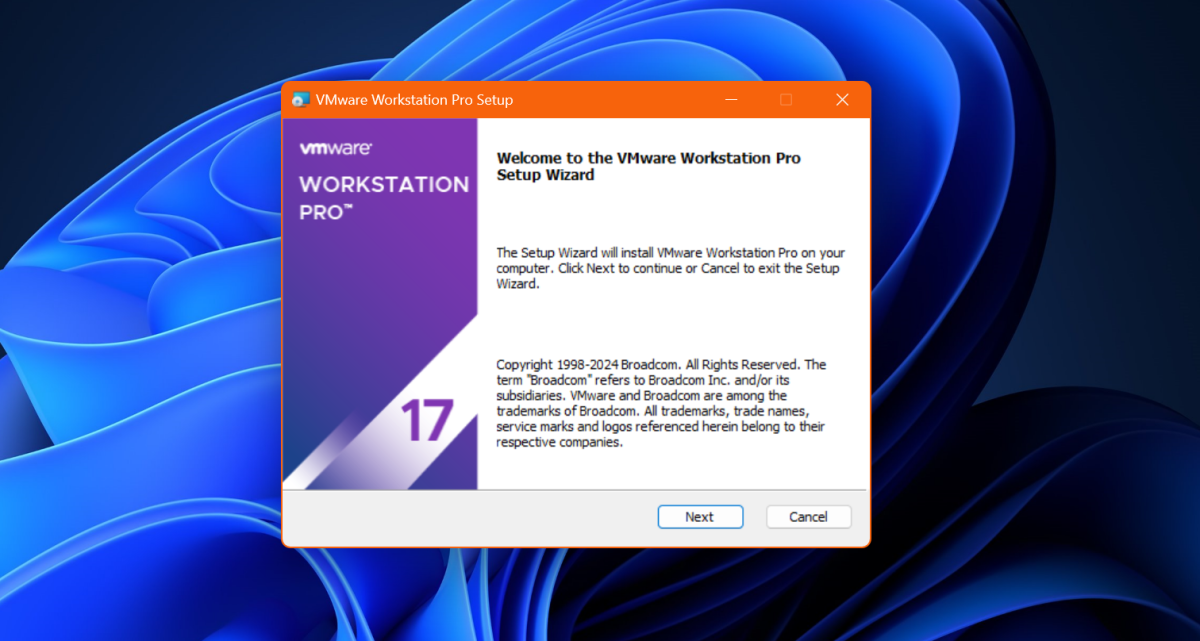
Installing the 30-day trial version of VMware Workstation Pro is quick and easy. You start the installation program in the DVD’s operating menu. Click on “Next” in the English-language welcome window. Confirm the license agreement by ticking “I accept the terms in the License Agreement” and click on “Next.”

Christoph Hoffmann
Christoph Hoffmann
Christoph Hoffmann
If the corresponding prompt appears, tick “Install Windows Hypervisor Platform (WHP) automatically” and continue with “Next.”
Check the target folder on your PC suggested in the next window and adjust it if necessary by clicking “Change.” You do not need the keyboard driver offered below — leave the box empty and click on “Next.”
You will now be taken to the “User Experience Settings” dialog. Remove the two tick marks in front of the displayed options if you do not wish to transmit any usage data to the manufacturer. Continue with “Next.”
Confirm the creation of the shortcuts on the desktop and in the Start menu suggested by the setup wizard by clicking “Next.” Start the copying process with “Install” and finalize a few minutes later by clicking on “Finish.”
Step 2: Set up a virtual Windows PC
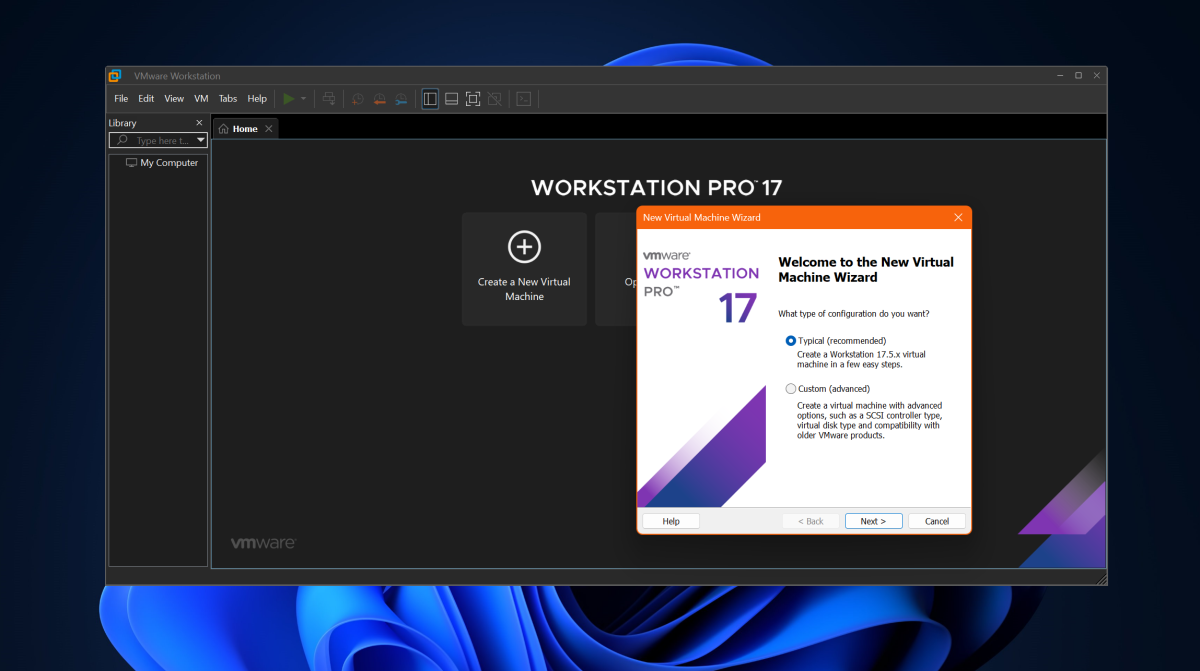
VMware Workstation Pro welcomes you with a window after starting. Select “Use VMware Workstation 17 for Personal Use” and confirm by clicking on “Continue” and, after activation, on “Finish.”
The main menu of VMware Workstation Pro opens, which serves as the control center for virtual machines. Click on “Create a New Virtual Machine” in the center of the window. A wizard appears in which you click on “Typical (recommended)” and “Next.” In the next window, under “Installer disc image file (iso),” use “Browse” to select the ISO file of the operating system that you want to install. You can download the Windows 11 setup ISO from Microsoft. Continue with “Next.”

Christoph Hoffmann
Christoph Hoffmann
Christoph Hoffmann
If necessary, customize the suggested name and destination folder for the virtual machine. In the next step, leave the settings “Only the files needed to support a TPM are encrypted” and enter a password. Leave the tick next to “Remember the password on this machine in Credential Manager” and click on “Next.”
Click on “Next” and accept the settings for the virtual hard drive. The wizard suggests a size of 64GB. Increase this value if you want more storage space for the installation of extensive application programs in the virtual PC. It’s best to leave the other options as they are.

Christoph Hoffmann
Christoph Hoffmann
Christoph Hoffmann
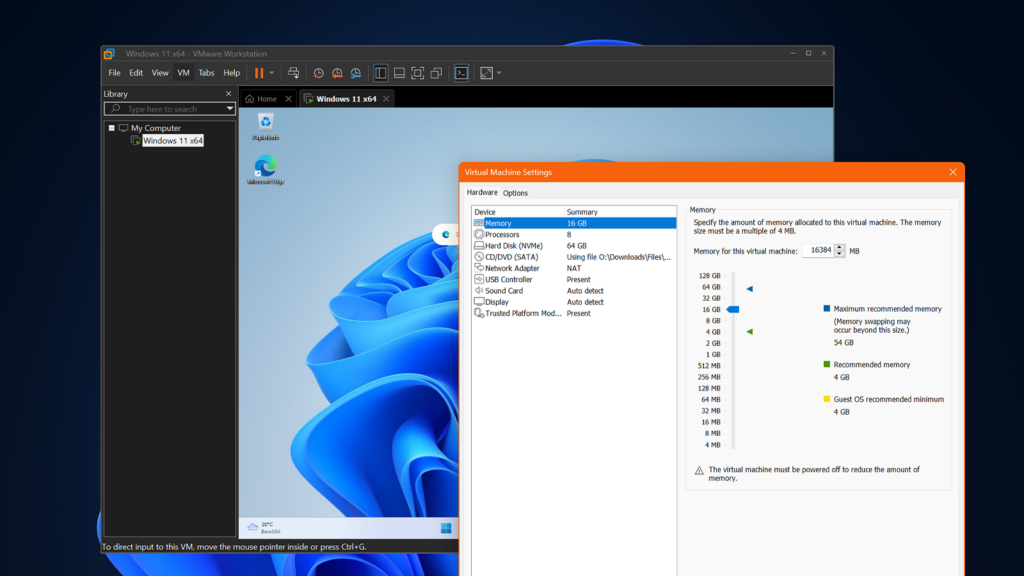
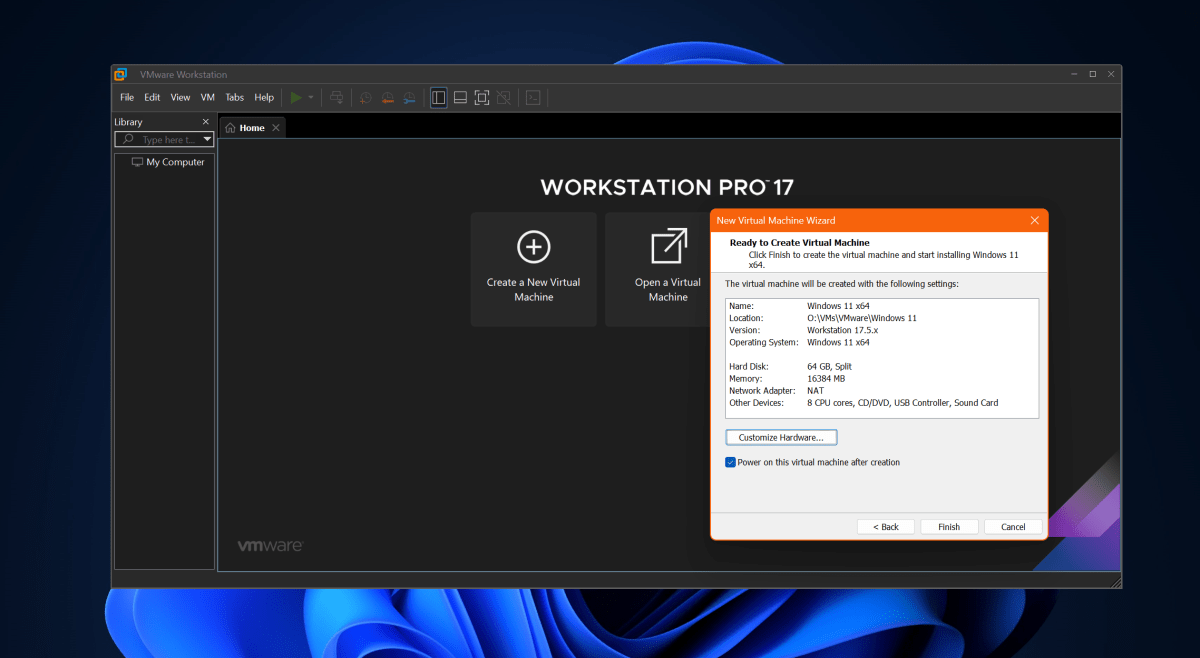
You can then use “Customize Hardware …” to allocate more RAM to the new virtual PC — depending on the actual RAM in the host computer. As a rule of thumb, half of the available RAM can be used for a VM. You can also increase the processor performance. Leave the network settings at “NAT.”

Christoph Hoffmann
Christoph Hoffmann
Christoph Hoffmann
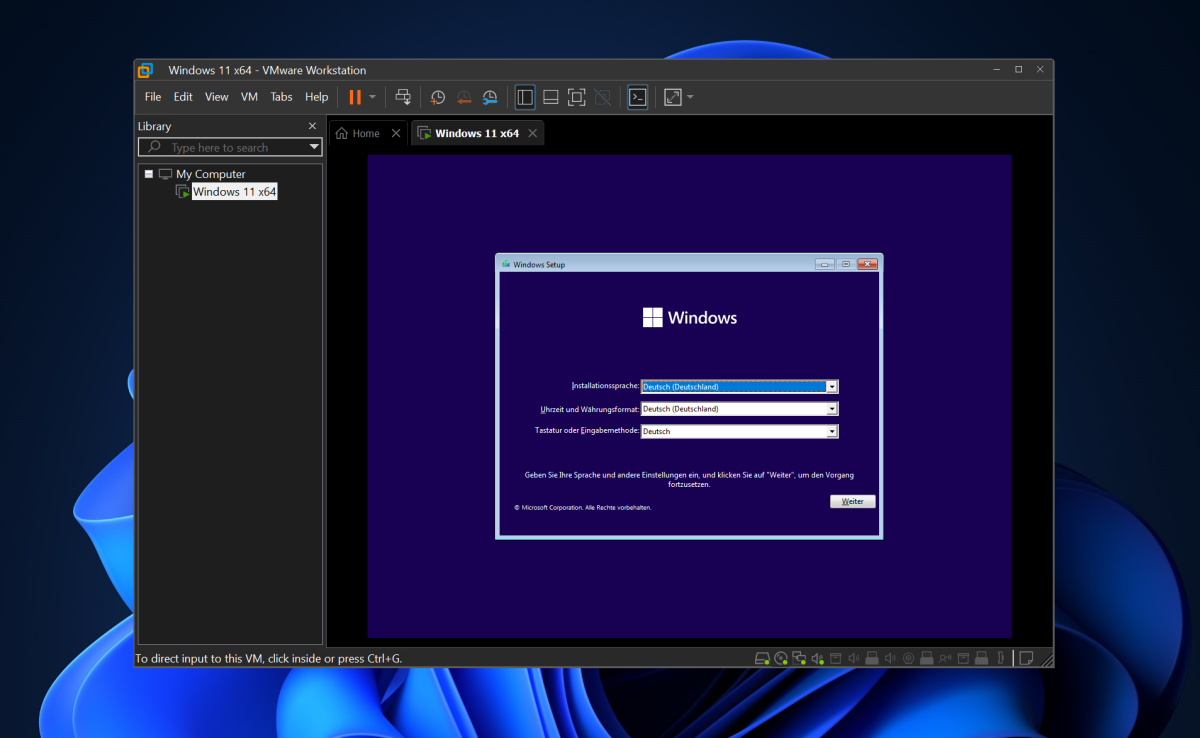
Close the window and press “Finish.” VMware Workstation Pro will now set up the virtual machine and boot the PC. Now install the desired operating system as usual. Then customize the operating system settings.
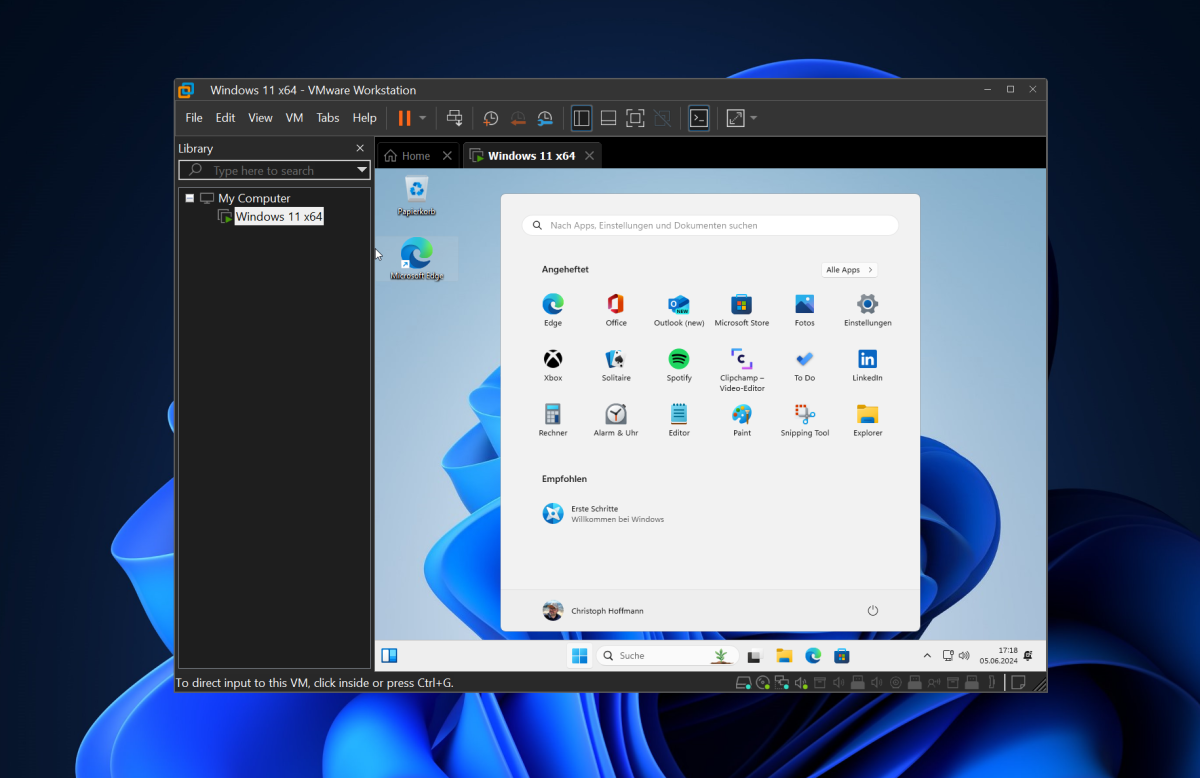
Finally, shut down the operating system in the virtual machine. The new PC appears in the VMware window on the left under “My Computer.” Details about the VM are displayed on the right. Start the guest system by clicking on the green play icon.

Christoph Hoffmann
Christoph Hoffmann
Christoph Hoffmann
VMware Tools are an integral part of VMware Workstation and offer a range of useful extensions in the Windows or Linux guest system. These include, for example, a customized graphics card driver, bus support for some operating systems, and a special network driver.
The installation of VMware Tools in the guest system is a prerequisite for smooth switching of the mouse pointer between the host operating system and the virtual machine. VMware Tools must also be configured for access to the shared folder in the guest PC.


Christoph Hoffmann
Christoph Hoffmann
Christoph Hoffmann
When installing a new operating system in the virtual PC using the VMware Player wizard, the VMware Tools are set up automatically at the end. If you want to install the extension library manually, start the virtual machine and select “VM> Install VMware Tools.” Then follow the instructions of the wizard.
Step 4: Back up snapshots
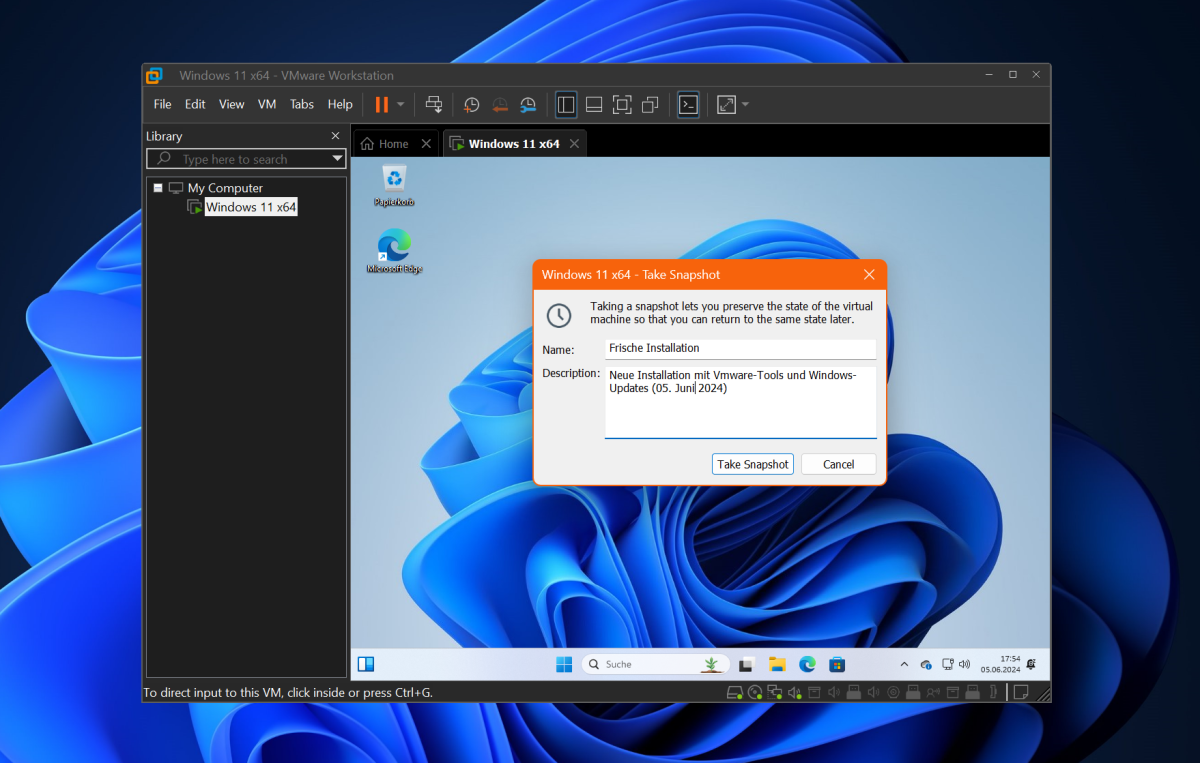
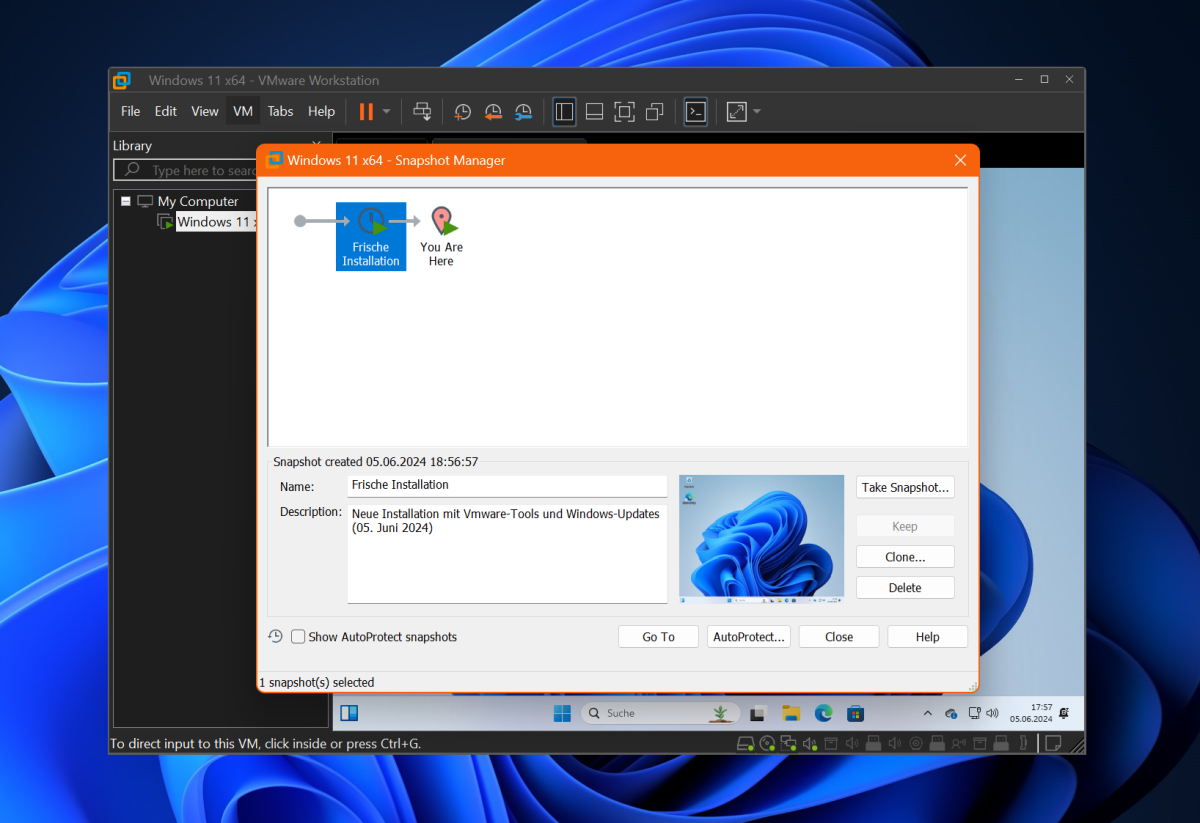
A plus point of VMware Workstation Pro is the extensive snapshot function. This allows you to save the current status of a virtual machine so that you can return to it at any time. Any number of snapshots, including interleaved ones, are possible.

Christoph Hoffmann
Christoph Hoffmann
Christoph Hoffmann
Select “VM> Snapshot> Take Snapshot.” Assign a name for the snapshot and enter a description. For automatic intermediate backups of a machine, open the Snapshot Manager with the key combination Ctrl-M. Switch on the “AutoProtect” option. To do this, tick “Enable AutoProtect” in the window shown below and set the desired backup interval.

Christoph Hoffmann
Christoph Hoffmann
Christoph Hoffmann
The backup, i.e. the snapshot, can be restored at any time. You can use such a checkpoint to restore the virtual machine to a previous state — all changes made in the meantime will be reset.
Step 5: Duplicate virtual PCs
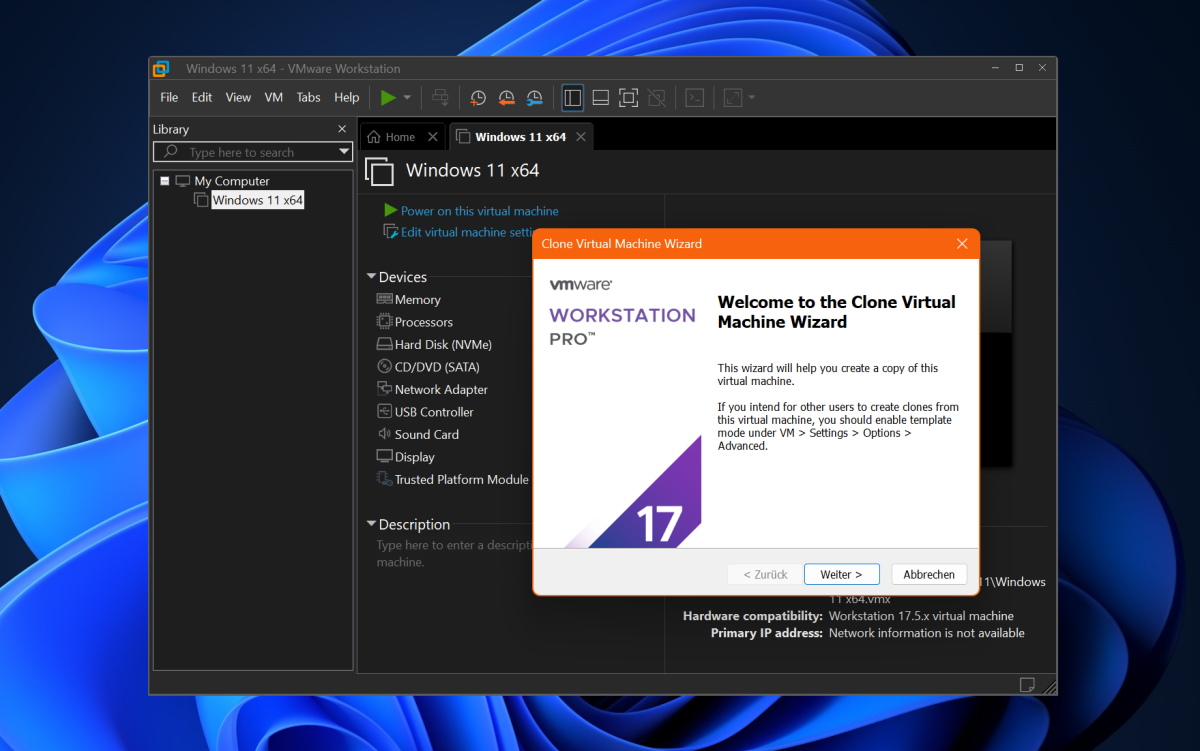
The clone function in VMware Workstation Pro supports you in duplicating and backing up virtual machines. When cloning, you create a 1:1 copy of a virtual PC with all the associated components that are required to operate the machine in question.
Right-click in the VMware main window on the switched-off virtual computer that you want to duplicate. Call up the “Manage” and “Clone” entry in the context menu. A wizard opens in which you first specify whether the current status or an existing snapshot should serve as the starting point for the cloning process.

Christoph Hoffmann
Christoph Hoffmann
Christoph Hoffmann
Then select “Create a full clone” as the clone type. A linked clone (“Create a linked clone”) saves storage space, but can only be used in conjunction with the underlying virtual machine. Linked clones are suitable for setting up differently configured test PCs, for example, but not as a complete backup copy.
Enter a name for the copy or accept the program’s suggestion. Under “Location,” specify the folder in which the duplicated machine is to be saved. Click on “Finish” to start the process, which may take some time depending on the size of the virtual PC.


Christoph Hoffmann
Christoph Hoffmann
Christoph Hoffmann
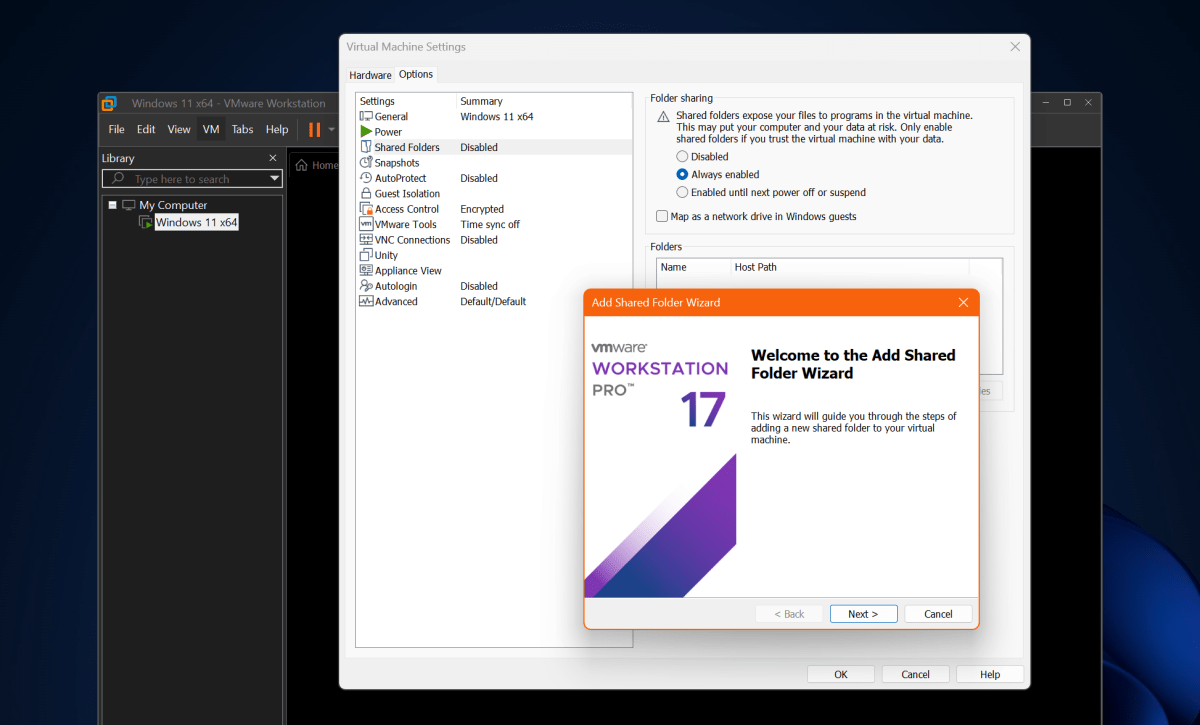
Set up a folder on the host computer that the guest computer can also use. To do this, open the settings of a virtual machine in VMware Workstation via right-click and “Settings.” Switch to the “Options” tab and click on “Shared Folders” on the left. In the right-hand pane, switch on “Always enabled.” Click on “Add” and use “Browse” to select the desired folder on the hard drive of the host PC.
Accept the remaining settings. The shared folder then appears as a new resource in the drive or network overview within the virtual machine. You can now open the new drive and conveniently exchange files between host and guest.

Christoph Hoffmann
Christoph Hoffmann
Christoph Hoffmann
This article was translated from German to English and originally appeared on pcwelt.de.
This article originally appeared on our sister publication PC-WELT and was translated and localized from German.
>>> Read full article>>>
Copyright for syndicated content belongs to the linked Source : PCWorld – https://www.pcworld.com/article/2377991/vmware-workstation-17-now-free-of-charge-how-to-set-up-virtual-pcs-with-the-professional-tool.html